



Keeping Your Bathroom Infrared Heaters Safe (And Your Toes Warm)
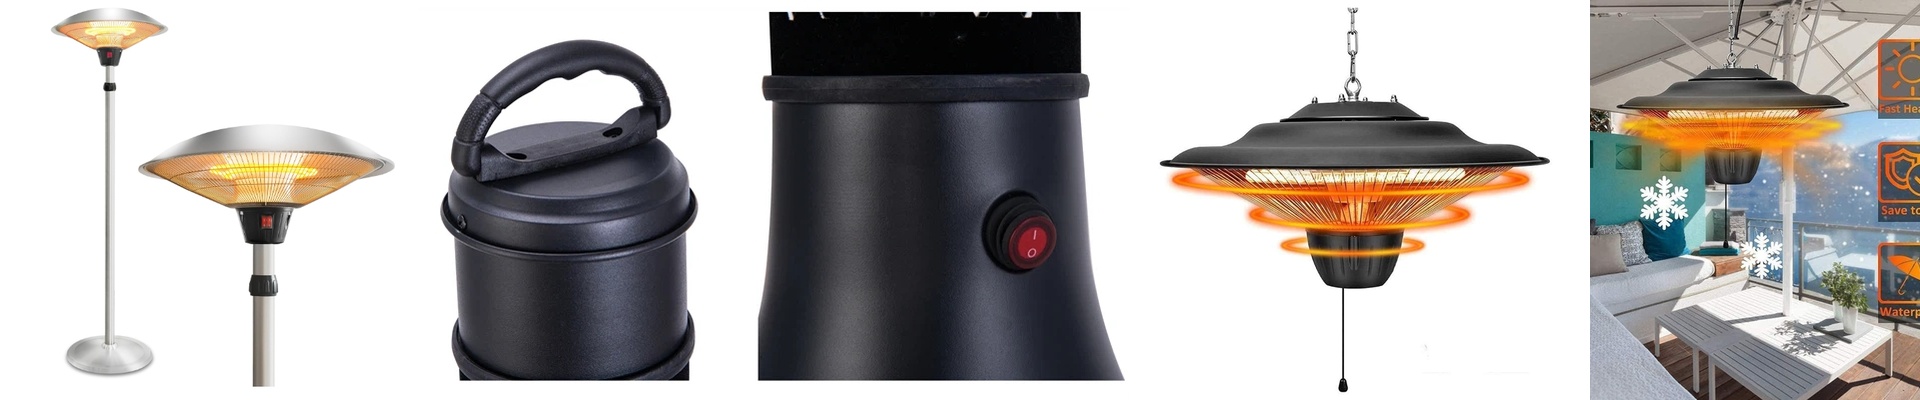
Putting an infrared heater in a bathroom is a bit of a gamble if you aren’t careful. You’ve got steam, splashes, and constant humidity. Since water and electricity are a nightmare pairing, one tiny leak in your insulation can lead to a short circuit or a ground fault. When we build our workshop-grade ceiling heaters, we don’t just hope for the best. We build them to survive the damp. The battle against moisture The real danger is at the connection points. That’s why we use high-temp ceramic insulators and silicone gaskets. It keeps the live current far away from the outer shell. We also don’t use cheap wiring. Standard cables crack and peel after a few months of steam cycles. Instead, we use heat-resistant, moisture-proof cabling that actually holds up over time. It’s all about the seal A heater is only as safe as the box it’s in. We use IP-rated housings to make sure water droplets can’t find their way into the electrical terminals. Forget those flimsy plastic covers you see in cheap kits. We stick with reinforced polymers or powder-coated aluminum. They don’t corrode, and they can take a beating from the humidity without falling apart. Safety nets Look, even with the best insulation, condensation happens. It’s just physics. That’s why you absolutely need to wire these into a GFCI or RCD system. To make that easier, we’ve integrated a dedicated grounding lug. If any stray current ever leaks, it dumps safely into the ground rather than through you. The tricky part: Heat vs. Air Here’s the thing… if you seal a unit too tight to keep the water out, you trap the heat inside. If the internals can’t breathe, they’ll overheat and fry. It’s a balancing act. We spend a lot of time figuring out strategic venting—finding that sweet spot where liquid water is blocked, but the heat can still escape. It’s not easy, but it’s the only way to make a heater that lasts.